

What is powerapps-modals?
Building fast modals in PowerApps journey starts here!


Table of contents
Overview
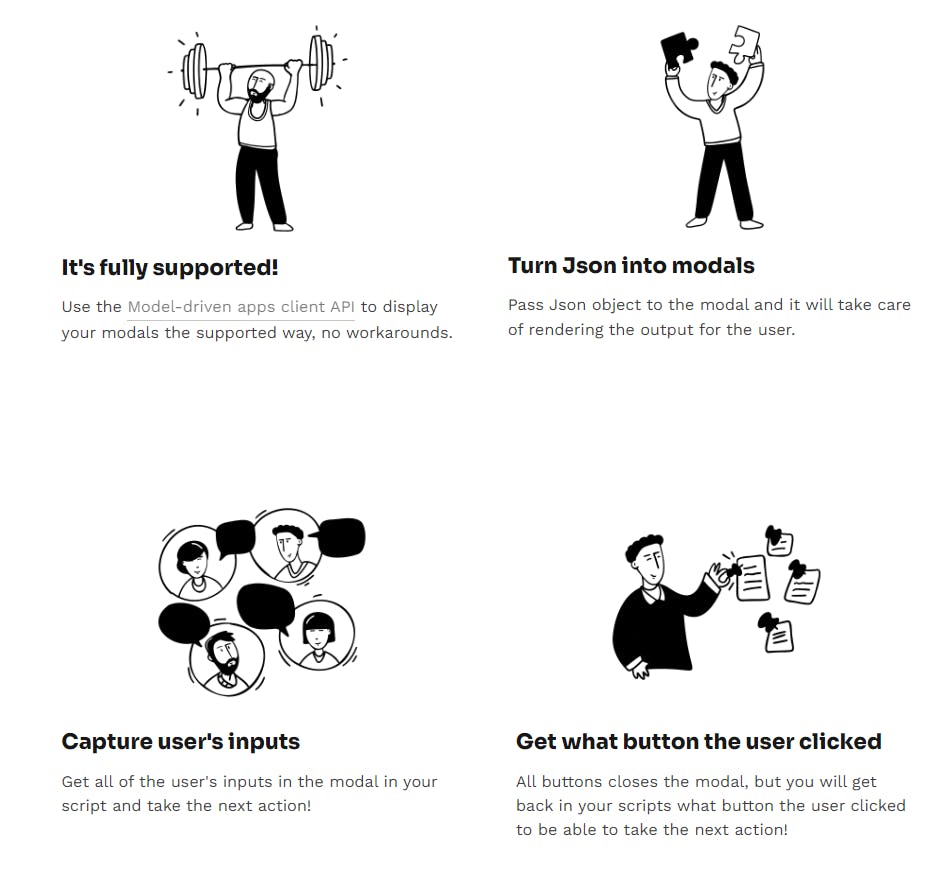
powerapps-modals gives you the tool to build attractive modals in Model-driven apps fast & easy. You just need to configure the modal configuration and start calling it from your client code.
Why?
Roadmap
Click here to see the roadmap of powerapps-modals
Installation
Go to this link and download the latest release managed zip file, and then install it in your environment
How to use?
- Install the zip files in your environment
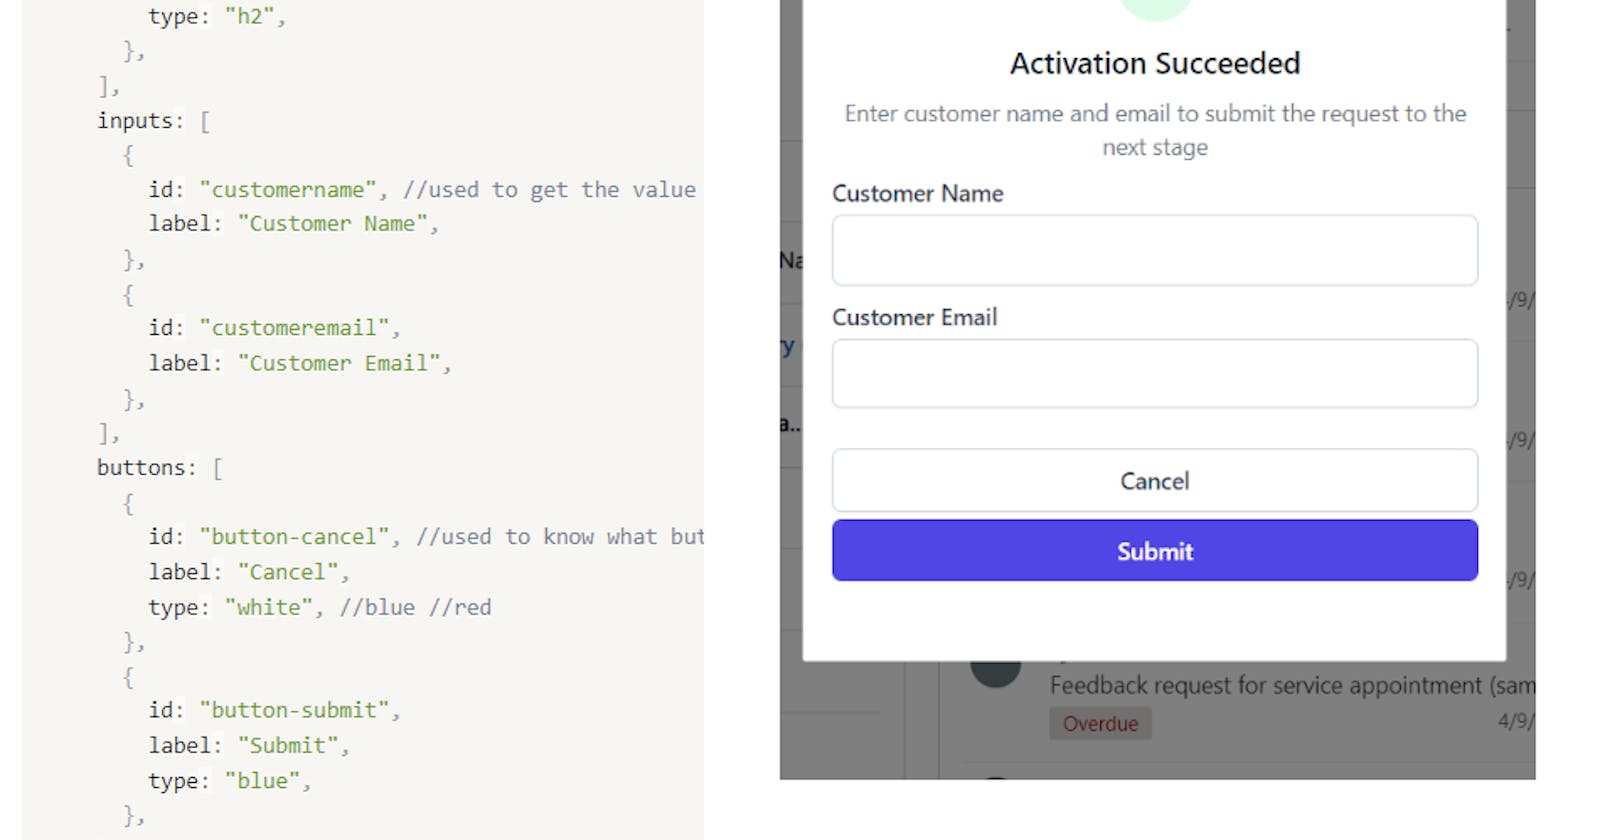
- Prepare your Json
  {
    "icon": "success",//warning //error
    "labels": [
      { "text": "Activation Succeeded", "type": "h1" },
      {
        "text": "Enter customer name and email to submit the request to the next stage",
        "type": "h2",
      },
    ],
    "inputs": [
      {
        "id": "customername", //used to get the value when the modal object is returned
        "label": "Customer Name",
      },
      {
        "id": "customeremail",
        "label": "Customer Email",
      },
    ],
    "buttons": [
      {
        "id": "button-cancel", //used to know what button was clicked, retunred with modal return object
        "label": "Cancel",
        "type": "white", //blue //red
      },
      {
        "id": "button-submit",
        "label": "Submit",
        "type": "blue",
      },
    ],
  }
- Call it from your script
  let pageInput: Xrm.Navigation.PageInputHtmlWebResource = {
    pageType: "webresource",
    webresourceName: "vite_/viteapps/pages/modals.html",
    data: JSON.stringify(modalJsonObject), //modalJsonObject, pass your json object here
  };
  let navigationOptions: Xrm.Navigation.NavigationOptions = {
    target: 2, // 2 is for opening the page as a dialog.
    width: 400, // default is px. can be specified in % as well.
    height: 500, // default is px. can be specified in % as well.
    position: 1, // Specify 1 to open the dialog in center; 2 to open the dialog on the side. Default is 1 (center).
    title: "Record activation modal", //recommended to enter title here
  };
  Xrm.Navigation.navigateTo(pageInput, navigationOptions).then(
    function success(returnedValues) {
      console.log(returnedValues);
      /*
        Return values object comes in the below format
        {
          inputs:object //holds the inputs and what the user filled them in with, you can get them by using the input id as the identifier
          clickedButton:string // the id of the button the user clicked
        }

        for the above example you can get your inputs like the below
      */
      let clickedButton = returnedValues.clickedButton; //if the user clicked on submit button it will return "button-submit"
      let customerName = returnedValues.inputs["customername"]; //returns what user filled in the customer name input
      let customerEmail = returnedValues.inputs["customeremail"]; //returns what user filled in the customer email input
    },
    function error(e) {
      // Handle errors
    }
  );
That's it :)